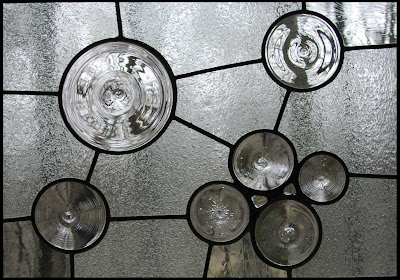
The leaded glass panel shown here is fitted together but not soldered. Soldering is how we bring the 36 pieces of lead came and 29 pieces of cut glass shown here into one leaded glass panel. I know I'm missing a great opportunity here to come up with an analogy to something bigger but it eludes me.
This is a close up of what the lead came joint looks like before it is soldered. You want the joints to fit as tightly together as possible to get the best solder joint.
These are some of the soldering irons I use. The bigger one is for a heavier gauge lead. The smaller iron is ideal for the type of soldering shown here. The little black box regulates the heat of the iron. If the iron gets too hot it will melt the lead. Solder, a 60/40 mix of tin and lead, melts at a lower temperature than lead. The hotter the iron, the better the solder fuses with the lead. A real master doesn't need a little black box to regulate the heat, he can do it through feel, smell and some zen like 6th sense. I need the black box.
Next touch the joint with the tip and press down for a beat or two.
 Lift the iron and you have a solder joint. A good joint is one where the solder has spread out smoothly and appears to 'melt' into the lead. A poor joint looks like the solder is sitting on top of the lead.
 Lift the iron and you have a solder joint. A good joint is one where the solder has spread out smoothly and appears to 'melt' into the lead. A poor joint looks like the solder is sitting on top of the lead.
As with everything in leaded glass repeat, repeat, repeat until the whole glass panel is complete. I counted 59 solder joints for one side, so including both sides that's 118 solder joints. Now we just have to putty and clean and the panel is ready to go. This panel is for an entry door, the simple door design from www.kuhldoors.com.


